What you can do with the Settings:
Customize models
This is the section where you define your access code or your Key.
Start Now leads you to the official setup.
Access Code allows you to set your access code.
Custom Endpoint allows you to use models from different providers with an API Key.
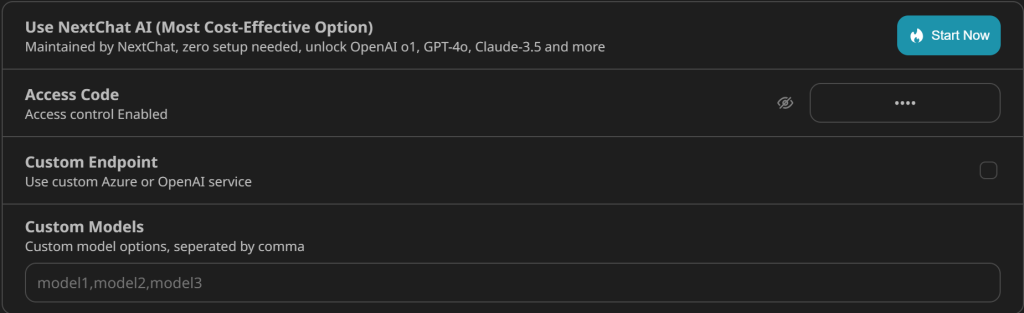
Let’s see what happens if you enable Custom Endpoint.
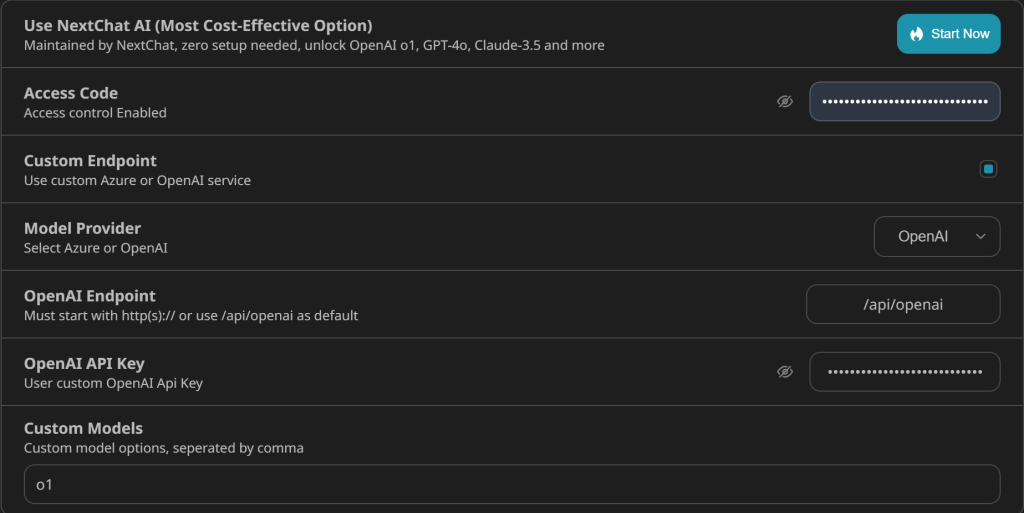
So, the things is, if you want to use a model from a certain provider, while it is not listed in the chatting page, or you want to use your own API Key, you will need to use it to set the model or Key you want to use. Here are the cases:
- As you can see, some flagship models from OpenAI has already been preset, GPT-4o, GPT-4o-mini, o1-mini, o1-preview. But you want to use o1, which is not listed here.
- You want to use models from Azure or other providers, but they are not in the chatting page.
There are many providers you can choose if you unfold it, let’s take OpenAI as an example.
You will fill in your own Key in the Key field, and place the name of your model in the Model field, be sure to use the correct model name provided by the model provider in the developer documents.
Realtime Chat
Here you can use your own OpenAI API Key to try out the OpenAI Realtime function, also know as the Advanced Voice Mode in paid subscriptions of ChatGPT.
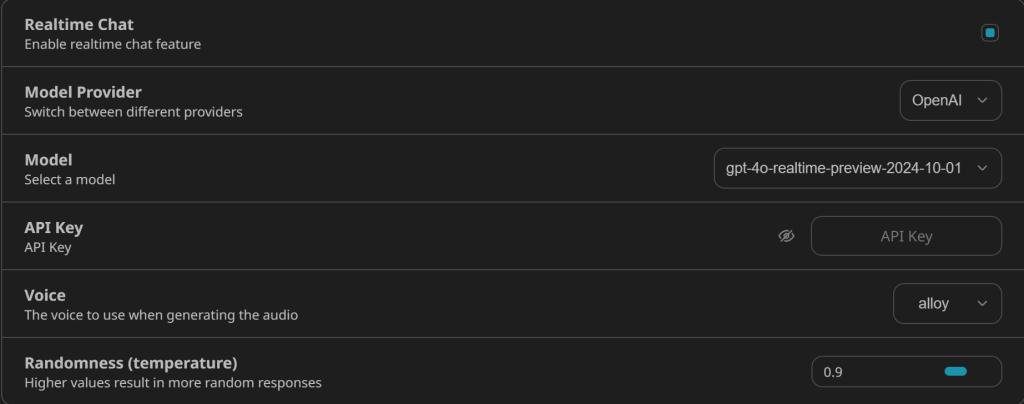
Fill in your Key and that’s it !
Author
3327652328@qq.com